
To help us designate the shape without having to draw it, I showed my 2 classes that they may join 3 short wikki sticks (waxy covered wire sticks) and twist the shape closed.
Because we were working on a shiny cardstock, the wax stayed hooked to the page very well. They made 3 shapes this way and painted inside each one with a different primary color.
The next day we continued on by outlining the primary colors using 2 neutrals, a black and a white to mix a gray line around the edge of the color patches. Then I demonstrated the color mixing to make the secondary colors of orange, green, and violet. They could use the wikki sticks again for making the shapes.
They were able to make mixtures of any experimental colors in the available space. The only rule that I gave them were to not mix on top of the red, yellow, blue, green, orange, or violet shapes. They were free to create any color mixture recipes their heart's desired, just as long it was in a different spot than the already painted shapes.
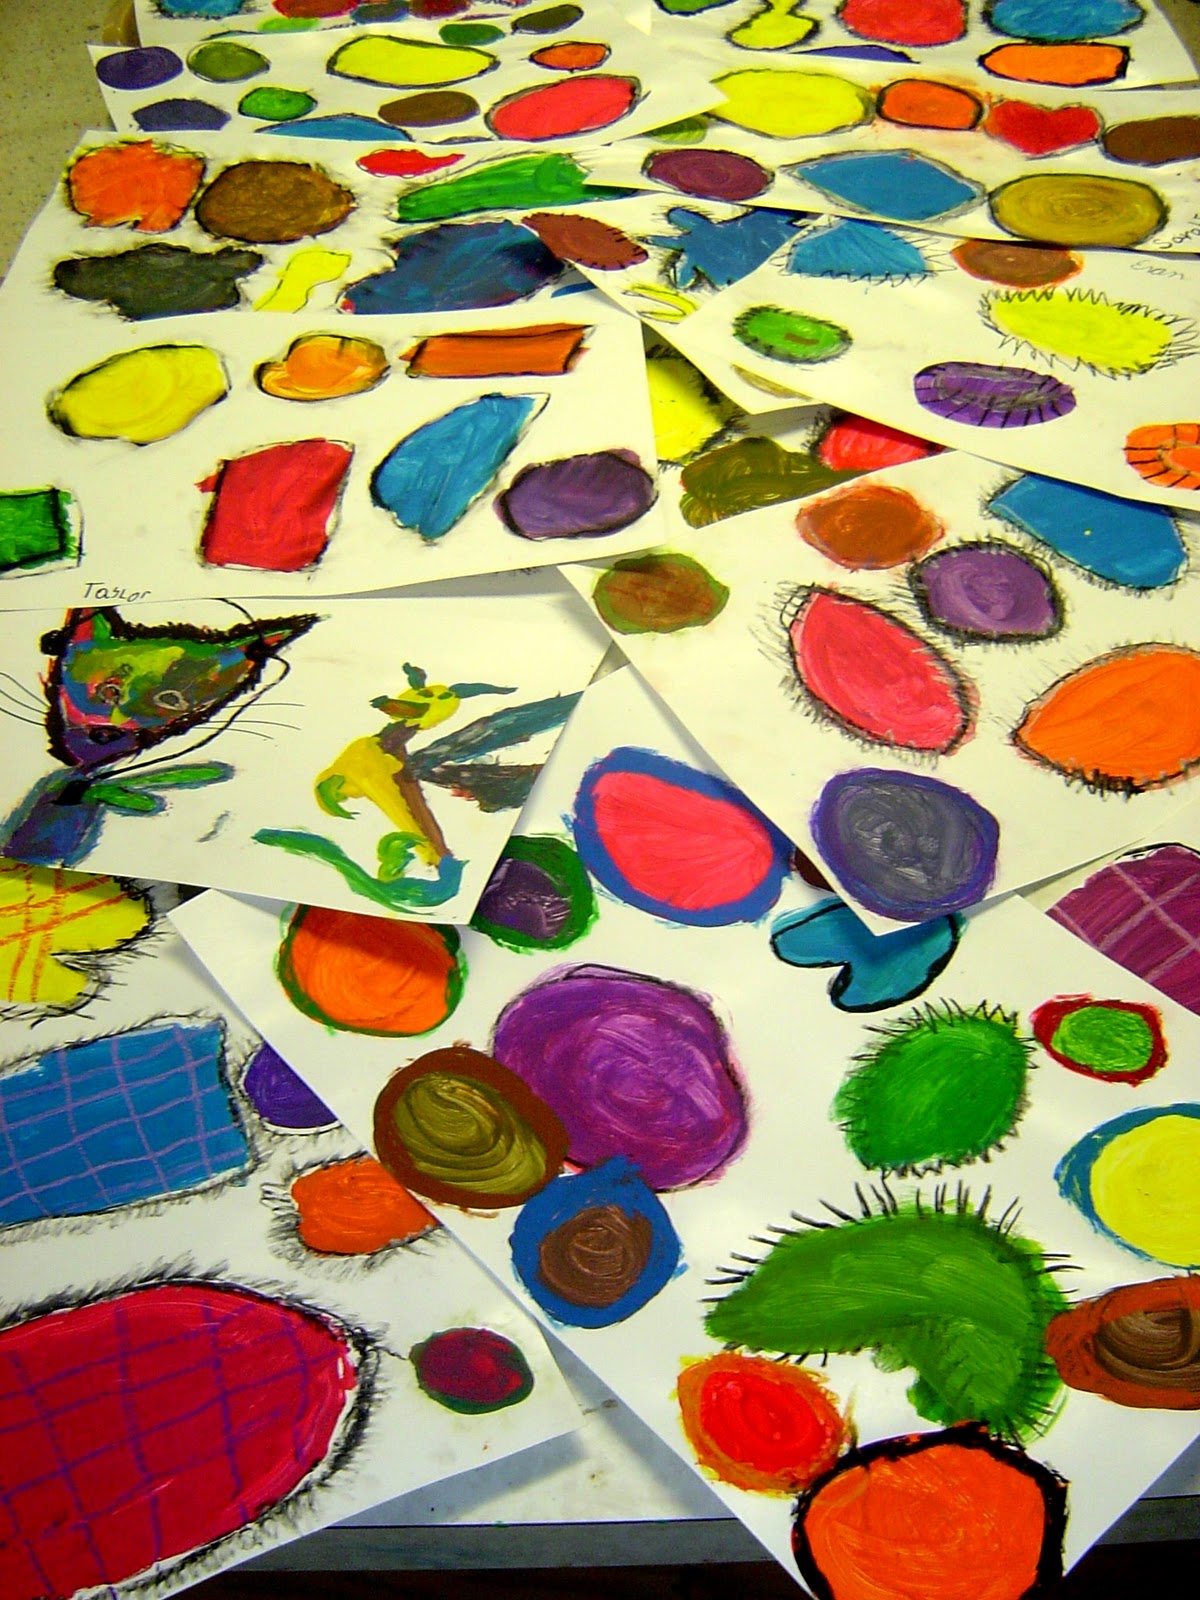
 |
| Mixing palettes after 2 classes |
Another thing that helps the color mixing step to go smoothly is to encourage color mixing to take place on the newspaper. When they get a color they like, they can then go ahead and paint it on the project page.
Now that they are ino the final stages, they have really developed the shapes individually. Some made the shapes into recognizable images, others focused on making the color mixed spots into a pattern, while others made only a few large mixed blobby shapes. Each piece was quite unique. I even saw one boy that made his shapes look like aliens!
 |
| By Macauly gr 3 "Alien Color Mixing" |
The final day we got out the oil crayons again and I asked them to outline and bring out the edge of the secondary colors using black first then a touch of white. When those three were outlined just like the primary colors I told them to switch to only colored oil crayons and put lines around and over the colored mixing spots. They could outline them or add color on top of the spots to bring out the recipe for how the color was made.

one example with a lot of extra mixing spots!
One student suggested that these creative color mixes look like close ups of germs. Another student thought they looked like a view into a microscope. Another student drew oil crayon plaid lines over the top of her color mixing spots. It is quite a nice pattern. I responded with a comment that went something like this, "Isn't it nice that we can see different things in each artist's work?"
1 comment:
Thank you for the visit and the kind comment:))
Post a Comment