Monday, May 24, 2010

Developing a Personal Art Series for a Portfolio

The basic idea of this ongoing series of art is to show growth and development in drawing and composition skills over a period of several years in elementary school.


My colleague and I have been involved in collecting a piece of art work from each child and compiling it until the end of 6th grade. Each student should include the following subjects in his or her art: plants, animals, buildings, vehicles, and people. They may find it more exciting to set the scene either indoors, or out. It can take place in a specific place or an imaginary place. The young artists start out drawing in #2 pencils.


We keep the drawings simple in 1st and 2nd grades by not coloring them. It is easier to see the forms and the students have more time to add details, without the complications of color.


By 3rd grade some students have time and patience to add the color and they really get finished as a full piece of art. We work in pencil first, go over the lines in permanent black marker and then use various colored material to finish the entire composition.


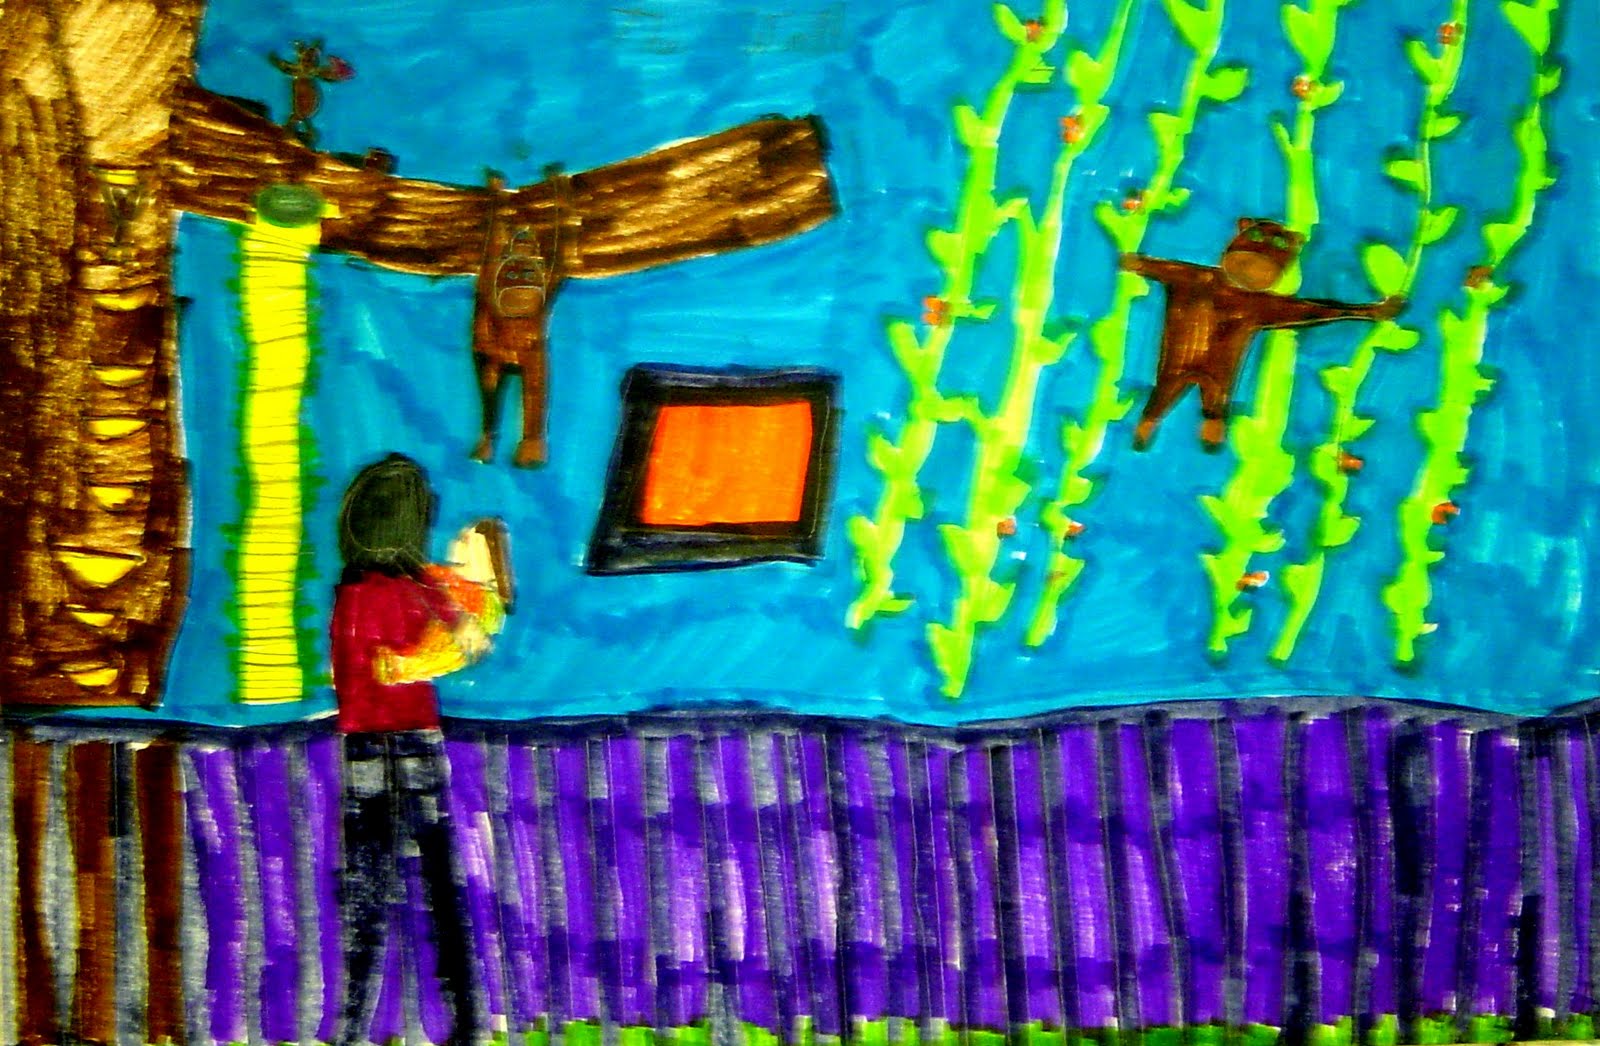
In 4th grade and above, I require each student to complete the personal art with more thought and planning about the subjects, to overlap the images, and to fully color or shade the images.


By the time we do this assignment in 5th and 6th grade the children often have a topic or idea in mind for the subject and are prepared to create. They can concentrate on the art skills needed to compose a full piece of art.


Tuesday, April 13, 2010

NCEA Convention Art Show

Like I said the other day, there weren't too many offerings at the convention except for Dick Blick's vendor display. However, I did take quite a few photos of the art work that was on display outside of the break out rooms. St. Paul and Minneapolis schools had sent in student work from grades k -12 to put on a small art exhibit. I sure enjoyed taking my time looking at what was being shared. Two other staff members were with me and I was lucky that our gym teacher happened to have her camera along. I was able to take nice photos. Otherwise I would have only had the camera on my phone.

Dimensional Snake
Animal Transformation


Where The Wild Things Are (textures and group project)


Ceramic Frames with fiber weavings


Cave Art Replica


Apple Transition


Laurel Burch style cats


Animal Transformations

Aboriginal Style Painting

another Aboriginal Style Painting
The work was appreciated by many teachers. I am glad someone took the time to get the exhibit together. Additionally, there was one entire wall of teacher created art. They had set up several tables and used table top easels to hold the framed work. I am unsure of copyright issues so I won't be posting any of the teacher created art.

Wednesday, April 7, 2010

Convention Time

I've had a busy 2 days at a National Convention in Minneapolis. I attended several sectionals at the event. Luckily, I have a few vacation days before we are due to resume classes after our spring break. I am glad because it gives me time to plan my final lessons for the fourth quarter.

I will need some captivating ideas for the ending of the school year. It will be especially important that I choose the right lesson for the graduating sixth graders. They may need some extra motivation in the coming weeks.

Dick Blick had a simple, but eye catching display in the expo hall. They brought along all the examples that are written up in their latest lesson plan sheet. I think I received my copy at the end of March with a sale catalogue. Seeing the projects in real life was 10 times more impressive than the flyer.

The layered earth strata, a coil vessel, and a canvas covered book box were the lessons I will consider for my challenging sixth graders. One of these lessons is sure to draw out their creative spirits. I hope they will find the same inspiration I felt as I walked up to Dick Blick's booth at the convention earlier this week.


The art that most caught my eye was a plastic layered mosaic that looked like transparent glass mosaic tile.

It was mounted on white card stock and had a layer of large bubble wrap to lift it 1/2 in off the surface. The separation from the background gave just enough light to illuminate the art work. Surprisingly, most of this composition was made from twisted plastic shopping bags and plastic food wrap. It was recycling at its finest!

Saturday, March 20, 2010

Spring Art Show


Earlier this week, my colleague and I hung our combined school art exhibit. This afternoon we held our reception. I thought I'd share a few photos of how we place the 2-D work on the walls. We really packed the pieces in tightly so that more children could be represented. It was almost like doing a mosaic tile job. We hung the larger works first and filled in the rest of the wall with smaller works. Lastly, we placed the 3-D work around on the window ledges and pedestals.


Since three of the walls are carpeted with a low loop, it is really easy to change out the shows. There is a plywood base under the carpet and it can take many nails before a remodel is needed. The carpet will also take the sharp part of velcro really well for any lightweight matted works and it sticks right were you want it. It allowed us to make many changes as we put the final touches on the show arrangement.


I think we got more pieces hung this year than in the past. It certainly took a little longer than usual to arrange everything. We served cookies, party mix, fresh veggies, and grapes. For a beverage we served clear soda. I think we enjoy having this show, but we are glad it is only an annual event.

Sunday, March 14, 2010

Going Bandannas!

A project on symmetry and monochromatic colors that I recently designed for the fifth graders in my art room was very successful. Our bandannas were a real hit with me and my students. They looked great on display in the main entrance of our school.
We began by looking at real cloth bandannas in many colors for our inspiration. I introduced the design motif of the paisley shape and the students noticed how it was shaped like a curled leaf or rain droplet. Some could see the similarity of the paisley and the ying yang symbol. I had the students take a 9 inch square of colored construction paper and fold it in half and in half again to make four equal sections. As an alternative, they could do the folds diagonally to make an on point design.
Students could begin in the center and work toward the edges. They were to use a repeating paisley shape as part of the design. A few students made a template of the paisley shape to keep the shape a standard size. Diamond and dots were also a suggestion as shapes that could work well for repeats. Dashed and dotted lines were common ways to divide up the 9 inch square. Many 5th grade artists lined up a border near the edge of the square and concentrated the patterns near the frame. Everyone sketched lightly in pencil and outlined all the shapes in permanent black marker. When this was done, we added white paint to accent the images. Again dots, dashes, paisley, diamonds were highlighted.
Next, we framed the bandanna art by using a 12 inch square as a backing. Most students used black or dark gray, but white was also a popular choice. A few picked a tint of the bandanna color. Student helpers cut lots of colored paper, scrap bandanna art, and scrapbookers paper in bandanna print into an assortment of squares, rectangles, and triangles. Everyone was very creative as they used these cut outs in a mosaic fashion around the edges of the bandanna art.


Friday, February 12, 2010

Recycle Old Crayons


In my Internet browsing session the other day, I ran across a posting written by Shannon of StalkerCreations. She had a wonderful tutorial for melting up crayons and cutting them into blocks to recycle broken and old crayons. She was glad that I wanted to link back to her post to share her idea with you. Thank goodness, because I sure need to do something with all the pieces I have in my art classroom after teaching 20 years!

Shannon's re-melted crayons remind me of a product I've actually seen in art supply catalogs called "Chunk O' Crayon". People pay money to get these! I really like the possibility that mine will have so much more color variety.
I really liked the part about cutting them like bars. Her hint was to cut them while the crayons are fully melted but still a bit warm.

Please take a look at her blog if you have the same need. I will melt up my crayons soon and take photos. I am anticipating many very creative crayon rubbings! We have several templates that have some famous art embossed into the plastic forms. Wouldn't those be nice done up in a randomly colored patterns from a good old chunk 0' crayon?

I hope you get inspired to do something similar.
My melted crayon chunks got quite a lot of attention by the kiddos in the classroom this week. I had them sitting in the foil pan and they looked like chunks of fudge! I had cut them with the crinkle cutter kitchen tool. I must say that I will try it again soon, because I think I let the melting go on too long. I would like to catch it in time to do a more marbleized swirl. Mine came out quite dark with only a little bit of a swirl. They were too far melted and the majority mixed too much making most of the pan black crayon.

Let us know if you get some nice results.

Collage and Scrap Fabrics

One of my favorite ways of working with children and the creation of art is to introduce collage as the process. I enjoy presenting a theme or topic and have the child create the image and then paint some of it, layer words in the art and paint over it, and add tiny mosaics of paper and scrap fabric. The layering works especially well in large and medium sized spaces and the collage of paper and fabrics often is most successful for the background areas.


This is the method I used when we worked on Wild Cat collages a few years ago. A little 3rd grade artist created this piece from torn paper squares, yarn and blue fabric swatches! I just adore it. The lion went to several local art shows that year. Her mother just loved how nice it looked when it was framed in a simple black frame under a piece of glass.


This fall around the end of October, my fifth graders were making Jasper Johns style flags. The students were able to layer words and song lyrics from the patriotic songs being sung at the concert right into their flags. It was such inspiring work! I liked the way this artist chose to use a variety of blue fabric wedges scattered in the field of blue!
I am so thrilled to have Wanda of Exuberant Color offer to send our school some of her finest trimmings from her quilt studio! She had written a post about cleaning up after a scrappy sewing session and I happened to comment to her on how we use fabric scraps in my art room. Thank you Wanda!